Today I would like to introduce you to my 4th guest Blogger,
Stephanie from
Dispensing Happiness. She has a very cool blog with delicious recipes and photos too. Take a
look, she's done a great job!
Stepahine also hosts a really fun blogging affair every 3rd Thursday of the month called
Blog Party. This event is a virtual cocktail party in which food bloggers share appetizer and cocktail recipes. You can learn more about her event
here.
----------------------------------------------------------------------
What a great community we food bloggers belong to.
Sweetnicks contacted me a couple of weeks ago. She told me about a new-to me blogger, Chef Michele, and how she was looking for 'guest speakers', if you will.
And oh; would I be interested in signing on?
Why, yes; yes I would!
Greetings to Chef Michele's readers from
Dispensing Happiness!
When I was asked to share my frugal two-cents' worth, I admit I was temporarily stumped.
It's not that Matt and I regularly add Brie, Champagne and black truffles to our grocery list. It's just that we don't plan our meals around a budget (do I get kicked off the island for admitting that?).
That said, we do have a few low-cost, worn-around-the-edges recipes we like to pull out a few times a month.
One of my favorites is a simple and filling
Fried Rice.
When I decided to become a vegetarian (just over ten years ago), I began to experiment with 'ethnic' foods. I don't know if the only major grocery store in my hometown had only recently added their sections of 'Asian', 'Mexican', and even 'German' foods, or if my search for 'things I could eat that don't use meat' caused me to finally notice them; regardless, I discovered a seasoning pack for fried rice. I found water chestnuts. All sorts of new ingredients.
I had always been a bit cautious about food (thank heavens I've outgrown that!), so I surprised myself by taking all those new foods home, and making fried rice for the very first time.
Ok. That 'first time' wasn't spectacular, when you consider I used Uncle Ben's 10-minute rice and a seasoning packet. But it was a start!
Once Matt and I merged our households, fried rice became a slightly classier affair.
No more pre-packaged seasonings. And Uncle Ben was banished from the cupboards.
But we still love a warm bowl of fried rice. And when you take a look at the recipe, you realize just how economical it is.
Rice is pretty inexpensive. We buy ours in 10-lb bags, and it lasts for months.
The sesame oil, while not cheap as an initial purchase, is used sparingly. Ostensibly, you could go twelve months before needing a new bottle.
Thrifty tip: Buy your ethnic ingredients from ethnic grocers. It's much cheaper, and the quality often higher, than what you find in supermarket chains.Example: a 1.5 oz. jar of cumin at Kroger costs $3.49. The 7 oz. package of cumin we recently purchased from an Indian/Pakistani grocer cost
$1.79. You do the math.
And the best part? Fried rice is a great way to use up the odds and ends kicking around in your refrigerator and freezer. The tail end of vegetables, that half of a chicken breast? Whatever you want to use, toss it in.
Because my son and I are vegetarians, we use vegetarian deli ham as our 'meat', but feel free to include any type of meat or seafood you have lying around. Same for vegetables. We tend to use carrots, peas and water chestnuts. Bamboo shoots, celery, zucchini, bell peppers (sparingly); whatever catches your fancy.
Most of all, it's a good meal that doesn't break the bank.
Enjoy!
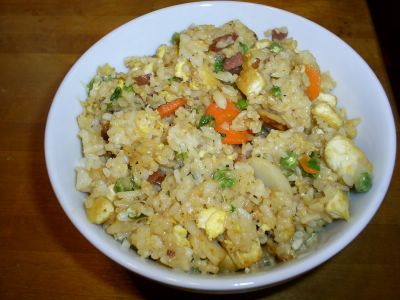 Fried Rice
6 c. cold, cooked, rice
1 carrot, sliced
1 scallion, sliced
1 c. frozen peas
1 c. cooked, finely diced, meat of your choice
1 lb. firm tofu, drained and diced
2 small cans water chestnuts (we used sliced)
1 Tbl. ginger, grated
1 Tbl. garlic, mashed or finely chopped/garlic paste
4 eggs, lightly beaten
4 Tbl. soy sauce
2 Tbl. sesame oil
hot oil to taste
vegetable oil
In a wok or skillet, heat 3 Tbl. vegetable oil. When very hot, add tofu and fry, stirring frequently, till golden and firm. Remove from oil. Drain and reserve.
Return wok or skillet to very high heat. Add additional vegetable oil if needed. Crumble the cooled rice into the wok or skillet with damp hands. Start stirring with a wooden spoon, with a cutting motion, to break up any clumps. Stir in and give each a minute to cook: carrots, frozen peas, water chestnuts, meats, and scallions.
Push rice to one side of wok or skillet. Pour eggs into space; as they begin to cook, incorporate them into the rice.
Add ginger, garlic, soy sauce and oils; stir into rice.
Add reserved tofu, mix into rice; cook until heated through, and serve.
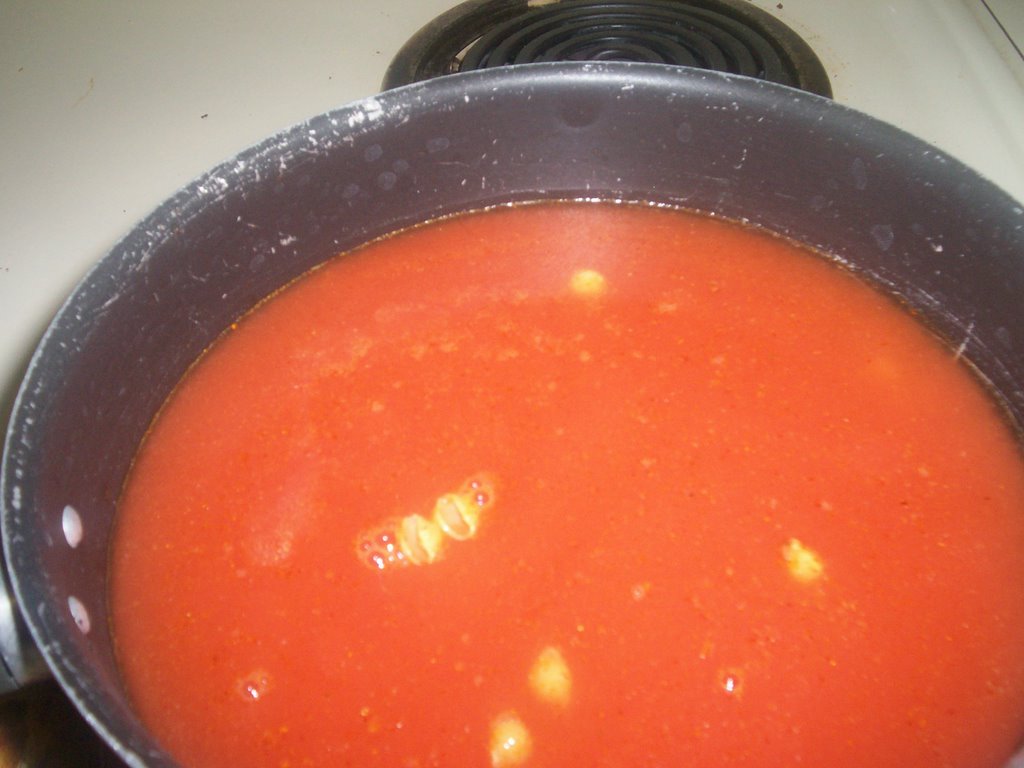
 (photo courtesy of Google Images)
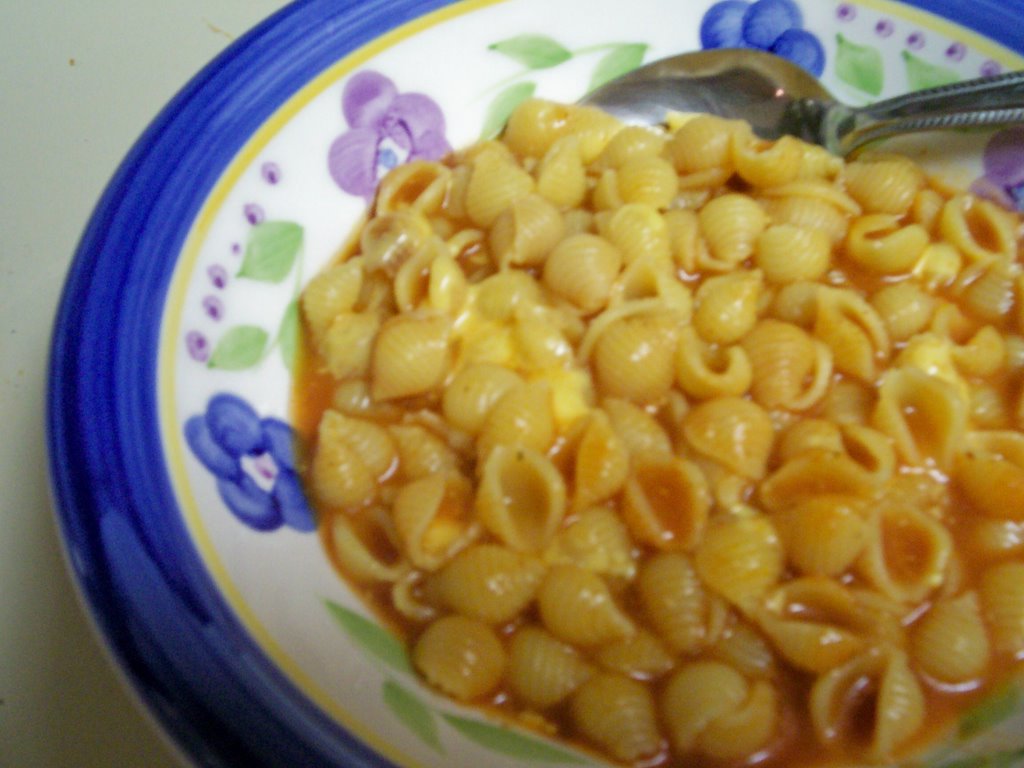