Showing posts with label Middle Eastern. Show all posts

Jan 19, 2008

Chicken With Tomato Rice Pilaf

I recently got a few new cookbooks that contain some really amazing recipes. I'm hoping to try several over the next few weeks and will post the recipes here.

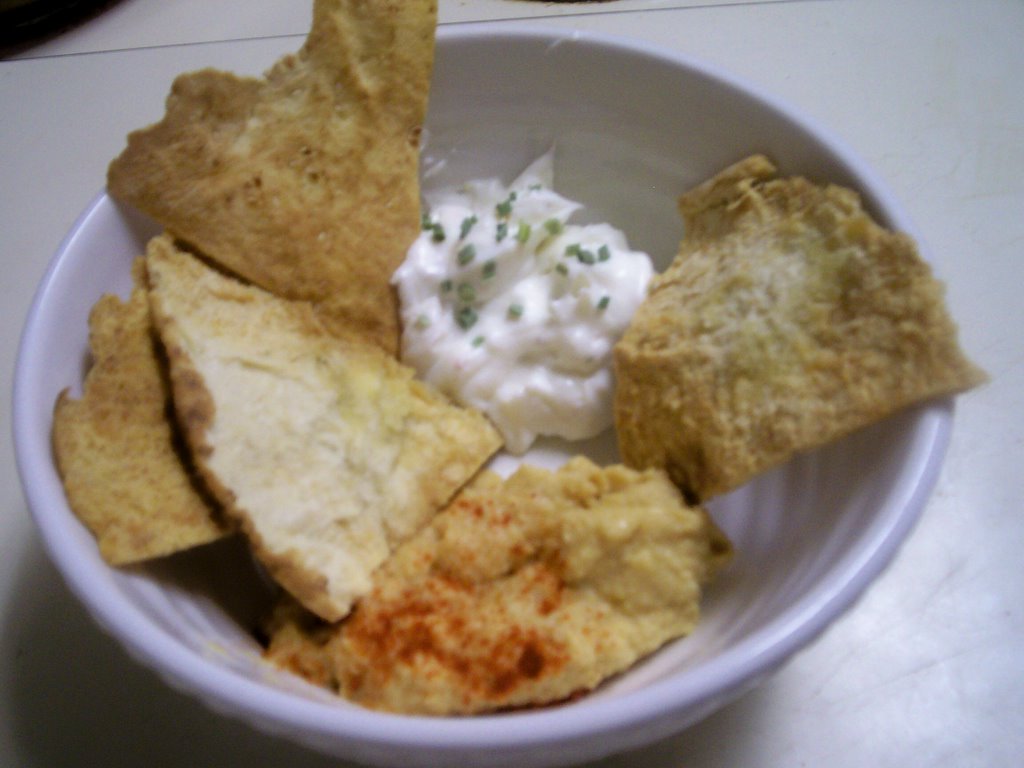
Tonight I made a dish called Chicken With Tomato Rice Pilaf from Claudia Roden's Arabesque. This cookbook contains recipes from Morocco, Lebanon and Turkey. There are many beautiful photographs throughout the book as well. It would make a beautiful coffee table book because the cover is so pretty. I really enjoyed reading this book because not only is it a cook book, it also contains a wealth of information about the countries from which the recipes hail. This is the first recipe I have tried from this book and it is wonderful! We had it with buttered peas, homemade pitas and hummus.


Chicken With Tomato Rice Pilaf
(Adapted from Arabesque by Cladia Roden)

(for the rice)
1 1/2 c. long grain rice
1 (15 oz.) diced tomatoes
1 tsp. chicken bullion powder
2 tsp. sugar
salt and pepper
1/2 stick butter, diced

(for the chicken)
4 boneless, skinless chicken pieces
1 Tbsp. light olive oil
2 Tbsp. butter
1/2 tsp ground coriander
salt and pepper
dried parsley


Start by making the rice. Blend tomatoes in blender then add enough water to make 2 2/3 cups. Pour the tomato puree into a pot along with the bullion, sugar and salt and pepper to taste. Bring to a boil then reduce to a simmer and let cook for 20 minutes or until rice is fluffy. Add more water if needed towards the end of cooking and simmer a few more minutes. Stir in butter and set aside. For the chicken, cut chicken into bite sized pieces. Heat oil and butter in a skillet then add chicken and cook 6 - 8 minutes or until lightly browned. Turn pieces over once during cooking. Serve chicken over the rice sprinkled with parsley.

Apr 5, 2006

Homemade Pita Bread

Thanks to Nic over at The Baking Sheet, I just completed the most well received baking project in a long time. Although I find lots of great recipes that I can't wait to try, my little ones often complain about the texture, taste or appearance of many things. So when I set out to make Nic's Homemade Pita Breadad today I expected that there would be at least one complaint when it was served. I was pleasantly surprised when my 6 year old declared these "50 times better than tortillas" and my 4 and 1 year olds both sighed a satisfied "Mmmmmm!" with their first bite. We ate them simply with thin slices of Colby-Jack cheese but there are plenty left for a bowl of hummus that I plan to make tonight and the "taco fillings" my 6 year old requested for tomorrow.

Homamade pitas are nothing like the store bought variety. They are delicate yet chewy and they are not at all brittle nor do they fall apart when you attempt to stuff them full of your favorite filling. Some of them will puff up and have a ready made pocket when you cut them open and some will need you to slit them with a knife before stuffing. Either way they are amazing!


Homemade Pita Bread
(from The Baking Sheet)

1 packet active dry yeast
1 1/2 cups warm (105-115F) water
1 teaspoon sugar
1 teaspoon salt
3 1/2 cups all purpose flour

Combine sugar, water and yeast. Let stand for 15 minutes, until foaming. Stir in salt and flour until fully incorporated. Turn out onto a lightly floured surface and knead until smooth, about 5 minutes. Allow to rise in a lightly oiled bowl until doubled in size, 1 1/2 hours. Turn on your broiler and lightly oil a baking sheet. Punch the dough down, divide it into 10 pieces, and gather each piece into a ball; keeping all of them lightly floured and covered while you work. Allow the balls of dough to rest, covered, for 15 minutes so they will be easier to roll out. Roll out until balls form circles about 1/8 - 1/4 inch thick. (I used my Tortilla Baker to flatten them). Place on baking sheet and broil for 3 minutes, until lightly browned. Flip over and broil again for 1 1/2 - 2 minutes. You just have to keep an eye on these guys depending on how hot your broiler gets.
Remove from oven and cool between kitchen towels to keep the pitas moist. Store in an airtight container.

Dec 22, 2005

Yogurt Cheese and Hummus


Yogurt Cheese is a lot like cream cheese but it's softer and tangier. It's very versatile and much healthier than cream cheese. It's easy to make but you need to start at least two days before you want to use it because it needs some time in the refrigerator to turn out just right. Once you make it you can flavor it any way you'd like. I made two varieties today. One was flavored with honey and cinnamon. I plan to use this as a spread for sweet crackers. The second half I flavored with garlic, dill, salt and pepper. I think it will taste great on whole grain crackers or as a sandwich spread. You can also try making this with flavored yogurt which will give you a "ready made" spread once it is ready to eat. Or if you use Yogurt Cheese made with plain yogurt in the same manner you would use sour cream or cream cheese such as adding a dip mix or using in a recipe.

Yogurt Cheese

1 (32 oz.) container of plain yogurt
plain white paper towels
strainer or colander

Line a strainer or colander with 3 thicknesses of cheese cloth or white paper towels. Set the strainer or colander over a large bowl then pour yogurt into the cheesecloth or paper towels. Cover with an additional two sheets of paper towel or cheesecloth. Set in the refrigerator for at least 24 hours so all the whey will drain from the yogurt. At this point I change the paper towels or cheese cloth and allow it to drain for another 12 to 24 hours. The longer you let it drain the thicker it will be. Once it has drained sufficiently transfer it to a bowl and mix in any desired flavorings or herbs and spices.

I am totally addicted to hummus! I think it must be the garlic... my absolute favorite. My kids love it too but it makes me cringe to buy the little tubs at the grocery store for $3 or more that last about 5 minutes in our house when snack time comes around. I had been searching for a recipe for a while and after comparing several I came up with this one. It turned out great and goes great with pita chips or raw vegetables. The hardest ingredient for me to find was the tahini (sesame seed paste) but I finally came across it at Trader Joe's. I recently found out that you can also buy it on-line. My next endeavor will be to try making the pita bread!

Hummus

2 (15 oz.) cans garbanzo beans, drained (save liquid)
3 Tbsp. tahini
1 Tb. extra virgin olive oil
3 cloves garlic
1/4 c. lemon juice
1/2 tsp. cumin
1/4 tsp. paprkia
salt to taste

Put garbanzo beans into the bowl of a food processor. Add tahini, lemon juice, cumin and paprika. Set on low speed and process until smooth, adding a little reserved liquid as needed until you reach the consistency of mashed potatoes. Taste for salt and add more if needed then process until well combines. Refrigerate for at least an hour to allow the flavor to develop. Serve drizzled with a little olive oil and a sprinkle of paprika.